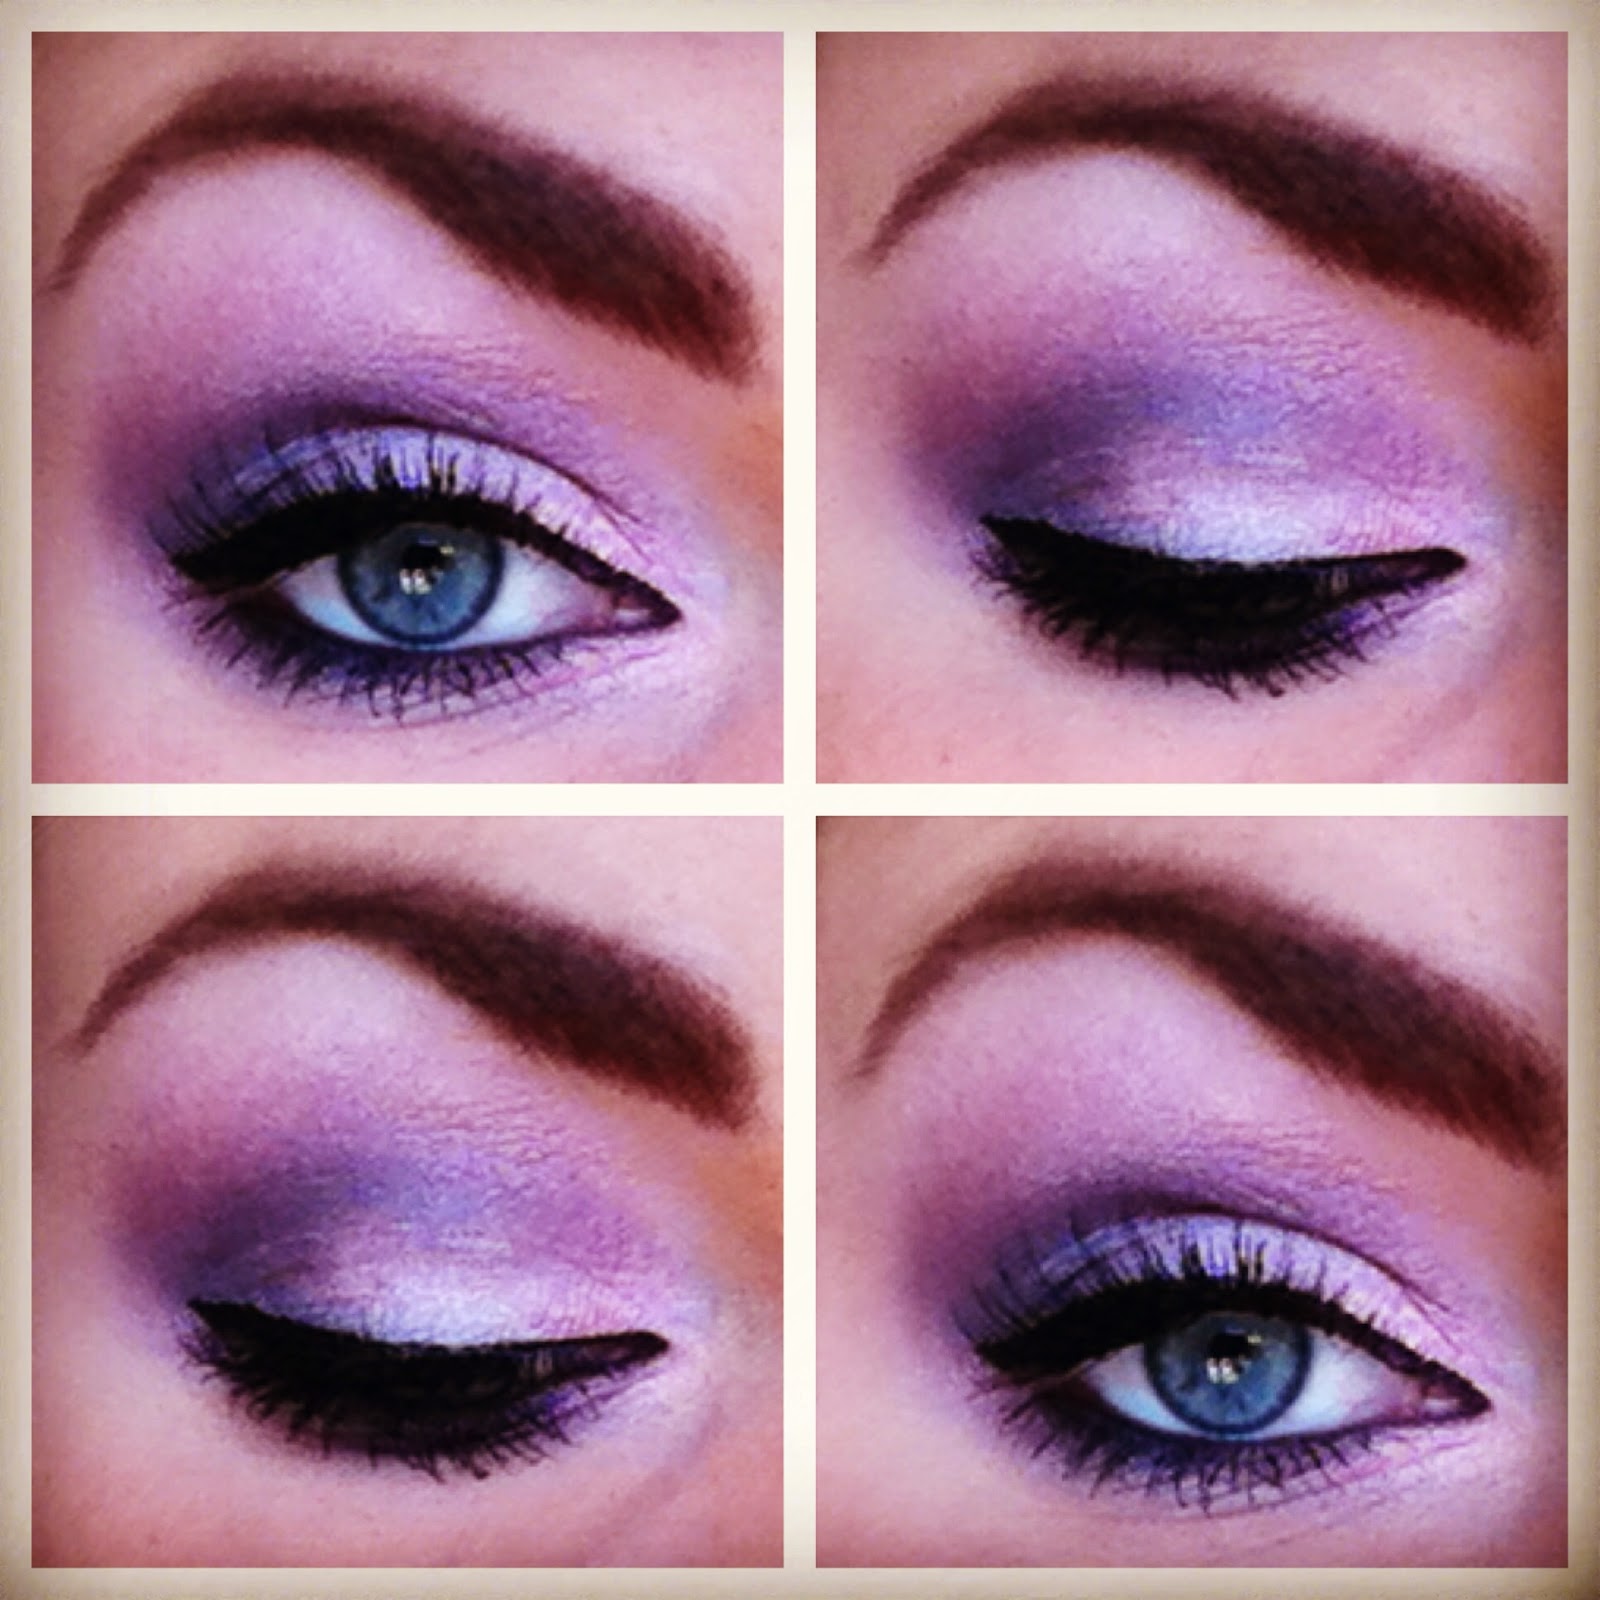
Thursday, August 28, 2014

Eyebrow Tutorial

I am no expert on how to do eyebrows, but I have received some requests on how I do mine... 
Here it is!! Hope this helps.

I use the 'Two-Faced' Smokey Eye Palette. Color: Up in Smoke

1: Trace the lower line of your eyebrow with an eye shadow
 that is a close match to your actual eyebrow color. If you have 
lighter eyebrows, you can do a lighter color than I have done. I 
wouldn't go any darker...

 (I don't do an extreme sharp line, but I do like my brows 
to have a definite shape)


2: Outline the top line of your brow, starting from the inner part 
to the middle of your brow...


2: Outline the rest of the top line, giving it a bit of an angle 
downward, giving your brow a little more shape to it. 


3: With your make up brush, in an upward motion, color in the thickest part 
of your brow.  


5: Now color in the rest of your brow making it have a more full look. 

I do my eyebrows pretty dark... but I stick with my natural shape and color. Whatever you do, don't make your eyebrows too dramatic. You're only shaping your eyebrows to look natural. You want straight lines from corner to corner. You don't want goop as your eyebrow. 

I guess my biggest suggestion and rule is... Go for NATURAL.
If you have any questions or would like more information, I'd be happy to help. FaceTime, Skype, or if you live in Utah or Nevada (Jady), we'd be glad to talk with you personally. 

XOXO

-Kenzie

Thursday, August 7, 2014

Blue eyes

Step-by-step to get this beautiful blue look!


1. I start with 'Rimmel' Scandaleyes waterproof Kohl eyeliner on the lid and smudged it out. 

2. Then I placed a dark blue (color #1) from my 'OFRA' Cosmetics palette on the outer 3rd of my lid.


3. On the inner 2/3rds I put a bright blue from my ELF 'Complete the look' palette. 


4. I blended a brown through out the crease with a fluffy crease brush.

5. 'Wet N Wild' Blue eyeliner for the bottom lash line. 

6. 'L'Oreal' carbon black liquid eyeliner on the top lash line

7. 'Jordana Lash Blast' on the upper and lower lashes 


Wet N Wild

step-by-step to get this look
 I used 2 'Wet n Wild' palettes 

1. I started with 'NYX' Milk. I start with a white base so the pink and gold really pop!

2. The first eye shadow I used was the gold color from the 'Wet N Wild' Trio called 'I got Good Jeans'. I placed the gold in the center of the lid.

3. The pink from the 'Spoiled Brat' Trio went around the gold and into the crease. I also put that under they eye. 

4. I took the silver from the 'Spoiled Brat' Trio and place it in the corner of my eye

5. Used the dark blue from the 'I Got Good Jeans' Trio and put that in the outer V and also under the eye in the outer 3rd. 

6. I used 'Rimmel' Scandaleyes waterproof Kohl pencil for the water line. 

7. 'L'Oreal' carbon black eyeliner for the upper lash line. 

8. 'Jordana Lash Blast" for the upper and lower lashes. 


Get the Look


Step-by-step to get this look! 
(I highlighted in white and black the colors I used for this look)
1.I started with 'Nyx' Milk. I put this on the lid and blended it into the crease. I also put it under the eye.

2. I used the pink color all over the lid. Also in the inner corner and under the eye on the inner 3rd. 

3. I took the pinkish brow color in the crease first and blended it up a little with a fluffy crease brush

4. With a more precise crease brush I took the purple color in the crease and the outer V. I also took 
this color under the lower lash line with a smudger brush. 

5, The light skin toned color was for my brow bone.

6. I used 'L'Oreal' carbon black liquid eyeliner for my upper lash line

7. For my upper and lower lashes I used 'Jordana Lash Blast'

                  I used 4 colors from my ELF 85 piece 'Complete the look' palette.

This look is so pretty and great for every day! The 'Complete the look' palette has beautiful colors with a great color pay off. I haven't come across a color I haven't liked. You can create so many great looks with this palette alone! I definitely recommend it! I did de-pot the 'Complete the look' palette because it is a little bulky and hard to travel with or store. 
This is what the palette looks like when you receive it! It's only $20!!

Wednesday, August 6, 2014

Art in the Streets


With this look I paired two of my favorite palettes! 'Wet n Wild's' Art in the Streets and 'Urban Decay' Naked 2  


1. I started with 'Nyx' Milk all over the lid and blended into the crease.
2. I took the green in the 'Wet n Wild's' Art in the Streets and put it all over my lid.
3. Use the color tease in the Naked 2 palette and with a fluffy blending brush I put it in my crease.
4. Snakebite is the color I used for my outer v with a more precise blending brush. Then with a smudger brush, I took that same color for the lower lash line.
5. Foxy, for the brow bone.
6. L'Oreal carbon black liquid eyeliner
7. Jordana lash blast for the upper and lower lashes.


This was another fun look. I love pairing these 2 palettes together. These palettes by themselves are great but I wouldn't say you could get a very wearable everyday look from the Art in the Streets alone. When you used the more neutral colors like in the Naked 2 palette has with maybe one or two of the crazy colors, you create a look that you can wear from day to day!  


I also got this look with these 2 palettes!


Everyday look!

This look is so simple! Its great for an everyday look and it all 
comes from the 'OFRA' palette.


1. I used color #4 all over the lid and in the crease. In my opinion, this color is so beautiful, the picture doesn't do it justice! It has big chunks of glitter in it and if you put it on with your finger it really packs it on! 
2. I used color #10 for the outter V and a little in the crease. I also pulled this color all the way under my eye.
3. Used color #6 on the brow bone. I usually don't use colors with a satin finish for the brow bone, but I didn't want to stray from this palette for this look. (I normally use a matte color for the brow). 
4. L'Oreal carbon black liquid eyeliner. . . like always. :) 
5. Jordana Lash blast for the upper and lower lashes.

I loved the way this look turned out! Its fun and simple enough to do day to day.

Cranberry

I love this Cranberry look....It's seriously sooo simple! Here is a step by step!

1. I used 'Maybelline' Color tattoo in 'Pomegranate Punk' all over the lid and under they eye. I took a blending brush and blended it into and above the crease.
 I absolutely love these color tattoo shadows! You can use them as a base or all on their own. They will stay all day. If you are going to do any blending make sure you do it quickly, these colors set quickly! 

2. On top of the Pomegranate punk I used ELF's backed eye shadow in 'burnt plum'.
I love the ELF baked shadows. Beautiful metalic finish. Love burnt plum!

3. I used my 'L'Oreal' carbon black liquid eyeliner. Just a very thin line on the upper lashline
4. For my upper and lower lashes I used 'Jordana Lash Blast'


A very fun and simple look!

Orange Cream


This is one of my favorite looks! 
Instructions step-by-step

1. I started with 'Nyx' Milk as a base, making the orange cream color pop on my lids. I love the way the color turned out!

2. The orange that I used all over the lid and under they eye is the one highlighted below. 
These shadows come from the 'ELF' 85 piece complete the look palette. I de-potted them because it is inconvenient to carry that big pallet around. I got this little empty palette from amazon and stuck the colorful shadows in it. These eye shadows are AMAZING. The complete the look palette is only $20!

3. For the crease I used the dark grey from the Complete the look palette. I blended it through the crease and in the outer V. I also brought that color down the lower lash line, just on the outer 1/3. 
4. I used my 'L'Oreal' Carbon black liquid eye liner on my top lash line. 
5. I used 'Jordana Lash Blast' on my upper and lower lashes
6. On my lips I used 'Jordana's' Moisturizing Balm Stain in 'Blitzy Geeks'


Monday, August 4, 2014

'OFRA' Palette

As promised... Here are the swatches from the 'OFRA' palette that
I have mentioned before. I will and do use this palette quite often. 


   I absolutely love these eye shadows! The colors are so easily blended and as you can see they are beautiful. There are so many different looks and color combinations that can come from this one palette. 
   My favorite colors in this palette are the 2 (teal) and 12 (hot pink). Both of these colors have a nice satin finish with a color that turns out just the way I expect. The colors 4 and 7 are the only two colors that have bigger chunks of glitter.  In this palette you also get a rose pink blush, a sparkly highlight, and a bronzer. The bronzer is a little too orange, so I would be careful using too much if you do decide to use it, but I have used it as a blush and it works out pretty well. I love the variety and the countless number of things I have done with this palette.

If you do decide to buy this palette, this^ is what it should look like. 


Sunday, August 3, 2014

Cotton Candy

Instructions step-by-step for Cotton Candy look...

1. I started with 'Nyx' Milk as a base all over the eye lid and up to the brow bone. I put in under the eye as well. If you are going for a brighter look and want the colors to pop, it is a great idea to start out with a white base. 

2. I used the gold from the 'Wet N Wild' trio 'I Got Good Jeans' for the inner corner and on the lid. 

3. I used the teal from the 'OFRA' palette I showed in the previous blog post. I put the teal in the crease, outlined the gold, and smudged a little under the eye. Each color used, I would start a little further outward and outline the previous color, making a V-shape ('outer V') to the eye. 

4. 'OFRA' also has a pink shadow that I used for the outer color. I blended the pink to the outer edge of the teal color and above the crease. 

5. For the brow bone I used foxy from the 'Urban Decay: Naked 2' palette. Foxy is just a skin toned that is used as an eye shadow. This gives your eyes a highlight and kind of evens out your skin tone. 

6. For the water line I actually used a pink lip liner from 'Wet n Wild.' Not sure if you are supposed to use lip liner on your eyes, but I did it any ways and it works great! 

7. I used 'L'Oreal' Carbon Black liquid eyeliner for the upper lash line, making a point outside the lash line, giving your eye a longer look.

8. On both upper and lower lashes I used 'Jordana' Lash Blast.

Let me know if you have any questions or have any requests!


GOLD AND TEAL

Hi there! Here is a step-by-step look at how this look was done...

1. I started with a 'Wet n Wild' cream eye shadow on the outer 2/3 of the lid and blended it out. 

  This cream isn't the best. If you look closely at the picture you can see that 
it has already started creasing and I only had it on for about 20 min.

2. One of 'OFRA' Cosmetics palette has a black eye shadow that I used over the cream and into the crease.  

This is the palette I used! I Love It! I will do a full review with these 
swatches later. 

3. I put 'Nyx' Milk on the inner corner of my eyes on top and bottom. 

Love! Easy to blend. Easy to apply. Long lasting.

4. The 'Wet n Wild,' 'I Got Good Jeans,' trio I used has the gold I placed as the inner 1/3 shadow. The 'Nyx' Milk I used in step 3 was the base for this gold color.  

    It's hard to find good shadows that aren't so dang expensive, but I cant say 
   enough about these 'Wet n Wild' trios!! They are amazing! The colors are easy to 
blend and come out to be beautiful! Plus they are only $3.99!!

5. 'Nyx' Milk was applied to the outside corner of my eyes (right outside the black shadow) as a base for the teal color from the 'OFRA' palette. 

6. I took the teal color from the 'OFRA' palette and blended it around the black shadow. 

7. I used the 'L.A. Color' eyeliner in lime green as my water line color. 

Love this eyeliner! Goes on so smooth and is only $1.99.

8. I used 'L'Oreal' carbon black eyeliner (felt tip) for my upper lash line.

My absolute favorite liquid eyeliner... Stays on all day and so easy to apply!

9. I used my favorite mascara 'Jordana Lash Blast' on both upper and lower lashes. 

Best mascara and only $3.99 at Walgreens...

    As I'm sure you can tell, I am all about bargain shopping, but I also want the best possible product. I don't usually buy a product that isn't worth spending money on. 
    I love trying new things and I will keep posting something new every week. BUT PLEASE... if you want a certain look or specific colors for a look, comment any details and I will do my best.